On this page
Start here
Identify the actual crumb tray
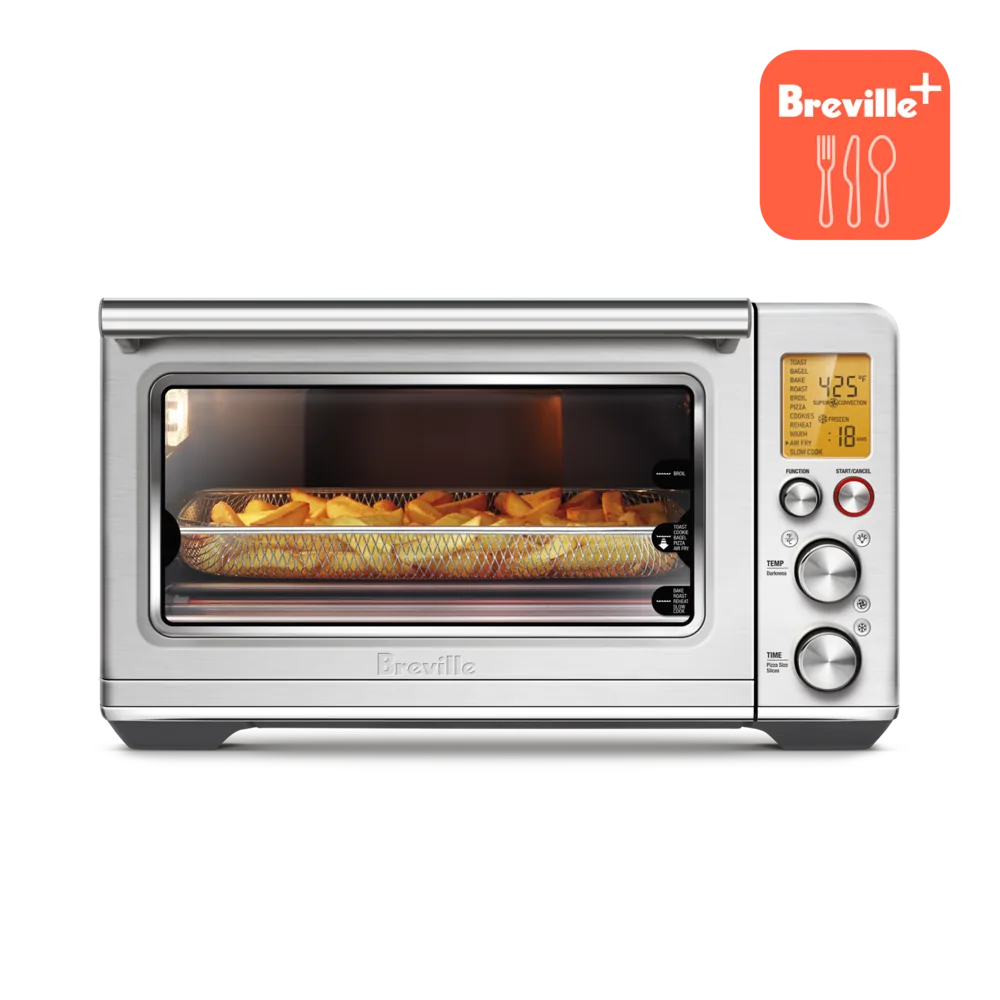
Identify the exact owner-removable crumb tray, complete its supported clean-and-dry procedure and reinsert it before use. Do not substitute a cooking pan or pull on an unlisted lower panel. Look at the exact oven's component diagram and care section. A crumb tray, cooking pan and drip accessory can look similar but perform different jobs. Do not assume the lowest visible metal surface is owner-removable. Breville's regional BOV860 book includes crumb-tray care and requires the tray to be dry before reinsertion. Use the complete matching procedure, including safe preparation and removal, rather than pulling on any panel that resembles a tray.
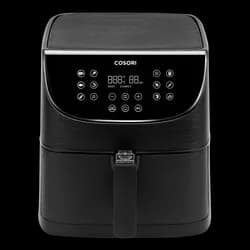
Keep the tray reference in the household parts list. A basket-style fryer may not have an oven-style crumb tray at all, so this routine should not be transferred to an unrelated appliance. If an accessory is missing or you cannot identify the intended component, ask the manufacturer before operating. A baking sheet placed beneath food is not automatically a substitute for the appliance's required tray.
Make tray care visible after the meal
The door window and cooking rack are easy to notice during washing up; a tray beneath them can be forgotten. Add it explicitly to the care handoff using the manufacturer's prescribed frequency and method. Keep removed parts identifiable and prepare a place where the tray can be cleaned without bending or being buried under other cookware. The aim is a complete routine, not adding unnecessary dismantling to every meal.
For example, someone cleans the rack after toast but leaves the tray in place because it is out of sight. A short part-by-part checklist can make the missing step obvious. It does not need to record every crumb or create a cleaning score. It should simply ensure the components covered by the manual's care procedure are accounted for before the appliance is considered ready.
Keep residue handling within the permitted method
Use the approved tool and cleaner for the tray, then inspect its accessible surfaces. Do not scrape it with a sharp object, line it with an unapproved material or run a high-heat cycle to burn off residue. Instant's regional Vortex oven manual restricts operation to manufacturer-authorised accessories, illustrating why improvised inserts need a separate support check. A cleanup idea is still a change to the appliance's arrangement if it adds material inside.
If debris appears beyond the tray's permitted access area, record the location and ask support. Do not reach through openings or remove the housing to collect it. Likewise, a bent tray or changed fit is not solved by pushing harder. Cleaning, component condition and inaccessible residue are distinct questions. Treating them separately prevents an ordinary hidden-tray routine from turning into an unsupported mechanical repair.
Reinsert deliberately and check the status
After the complete prescribed drying and care steps, install the correct tray in its intended position. Account for other removed accessories too. If something remains unresolved, mark the oven unavailable rather than assuming the next programme will reveal whether the tray was necessary. In a shared kitchen, tell the next cook if the component is still being cleaned or waiting for manufacturer advice.
Keep the exact tray identity and source instructions in the appliance record so replacements can be verified. Review the routine when changing models, since an older oven's tray procedure may not fit a new design. The useful result is a known complete lower arrangement and a clear cleaning step for the part that is easiest to forget. It should not depend on remembering only the surfaces visible through the front window.
Behind this guide
Sources & editorial method
This guide combines original editorial decision support with the linked documentation. It is not a hands-on product test. Check the exact regional model and its manual before purchasing or using an appliance.
- Breville BOV860 regional instruction book ↗Checked
- Instant Vortex air fryer oven regional manual ↗Checked