On this page
Start here
A dish must be supported as well as small enough
Before using a baking dish in an air fryer, verify that the vessel and its placement suit the exact appliance. Physical fit alone is insufficient. Check the dish maker's heat-use guidance, the appliance instructions, and the recipe's intended setup together.
The practical fit check includes the base, rim, handles, usable height, and removal path. A dish that goes through the drawer opening can still fail the cooking-position or handling check. Confirm the vessel's intended use with the exact appliance arrangement.
Use exact-model accessory guidance
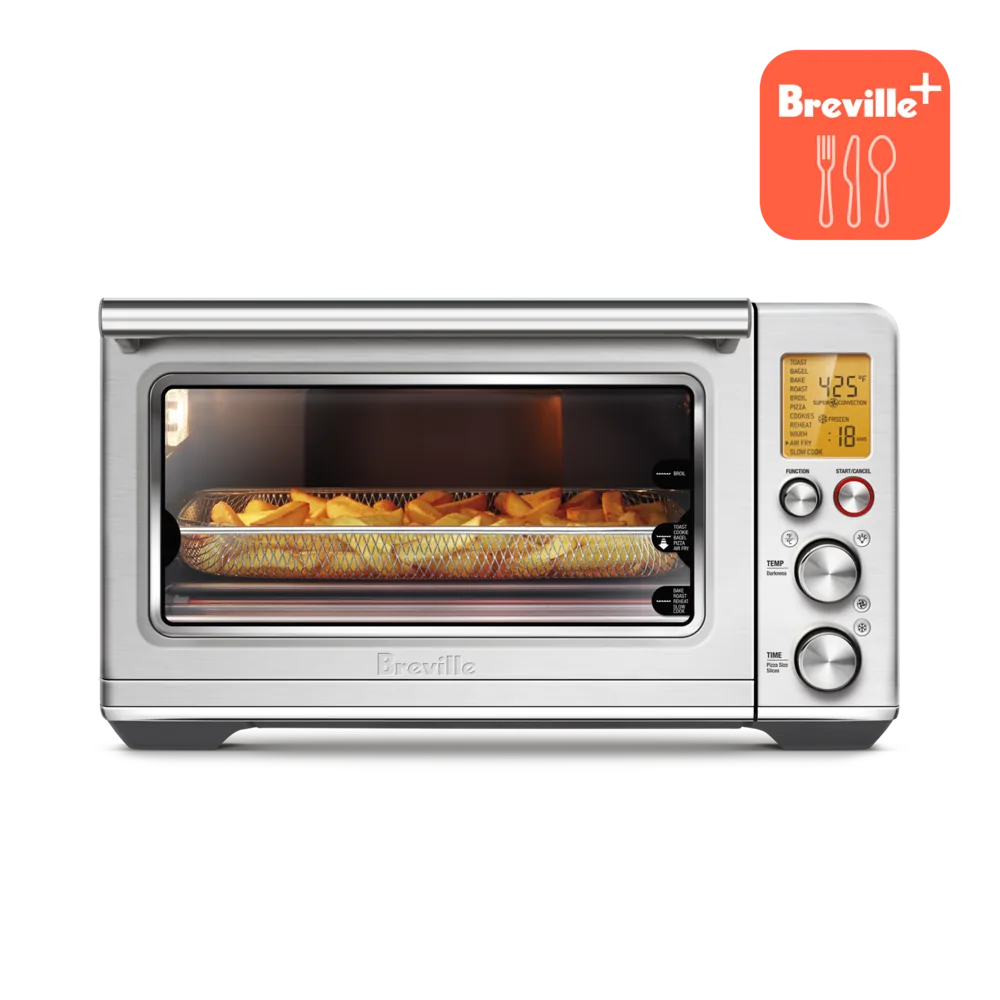
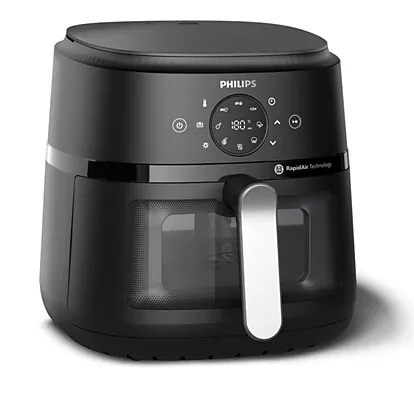
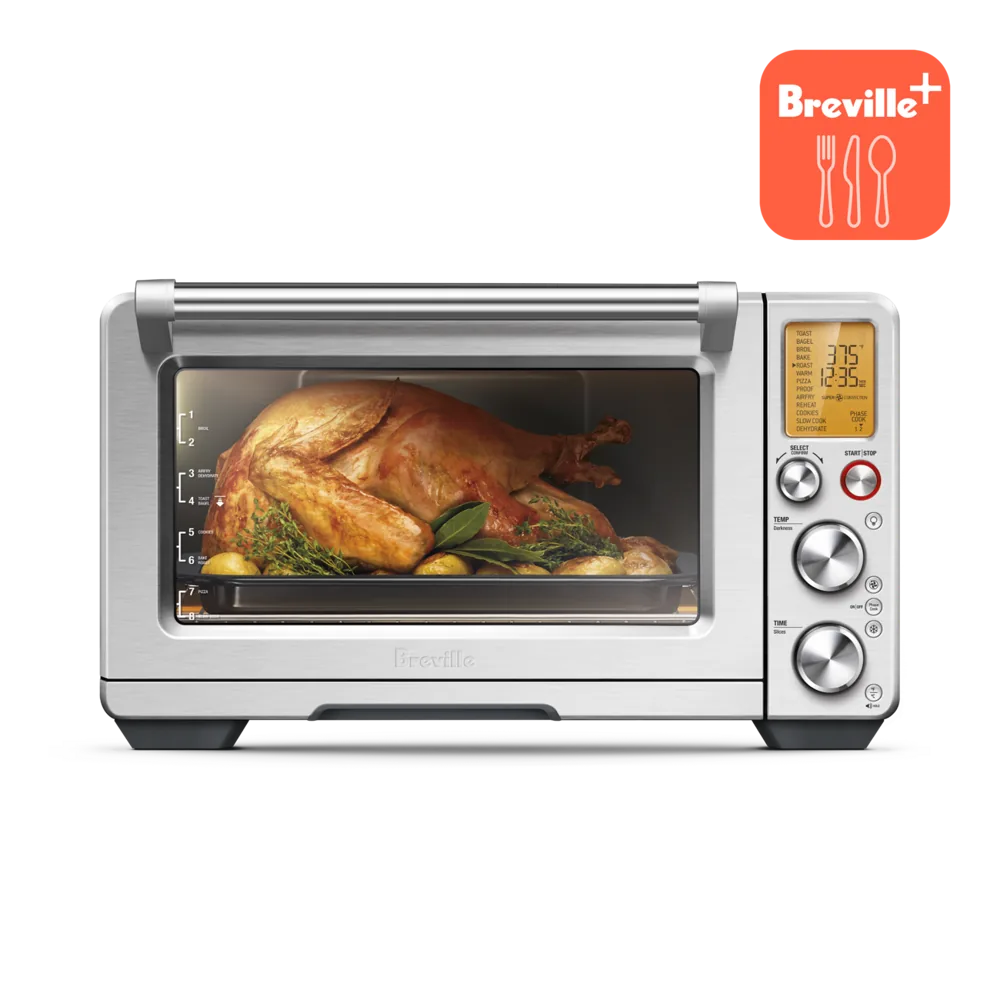
Philips publishes baking-tin guidance grouped by specific air-fryer references. Breville's BOV900 manual separately identifies its oven-format accessories and rack arrangements. These sources illustrate why the right vessel and placement depend on the product rather than a universal air-fryer dish size.
Match your full reference to the documentation. Do not take a dimension from one manufacturer's range and treat it as a rule for another brand. If the source only describes an approved accessory, do not assume an unrelated dish with a similar diameter is equivalent.
Measure the whole vessel
Record the widest points, including handles and a projecting rim, along with total height. If the base is narrower than the top, keep both measurements. Compare them with confirmed usable space rather than external appliance dimensions.
Check rounded basket corners and taper where relevant. A square dish may have a different fit problem from a round dish with the same headline width. Use an unpowered planning template outside the appliance if helpful, keeping such materials out of the cooking arrangement.
Keep placement attached to the recipe
Read whether the vessel sits on a plate, in a basket, or on a named oven rack. Do not remove an appliance component or improvise a support to make the dish fit unless the exact instructions permit it. A wider open cavity does not establish an approved operating setup.
Dish depth also belongs to the recipe. A deeper layer of food in a smaller vessel is not automatically equivalent to the original arrangement. Find guidance that suits the actual vessel and quantity rather than copying only its time and temperature.
Plan how to get the dish out
Check the permitted removal tools and whether there is enough space to grasp or support the dish as directed. Handles that help on a full-size oven tray can obstruct a basket. A tight fit can be inconvenient even when the dimensions appear to pass.
Have the appropriate landing place ready and follow the appliance and cookware handling instructions. Check which gloves, utensils, and cooling steps the exact setup requires. The documented routine should explain how the actual setup is handled.
Example: measure the complete dish
If you are comparing two baking dishes, note the outer dimensions, handles, depth, and the arrangement your appliance allows. A shop listing that gives only an internal diameter may not answer the fit question. Confirm the material and intended use as well as the size, and compare each candidate with the exact appliance instructions. Then choose a recipe that suits the confirmed dish. Keeping the measurements together makes a later purchase easier: you can evaluate the whole object and supported placement instead of repeating an uncertain guess based on its headline capacity.
A dish-fit checklist you can save
Keep the vessel identity, dimensions, compatibility source, intended position, recipe, and removal plan together. If any essential point remains unknown, resolve it before cooking. Choosing another compatible dish is often clearer than trying to make a favourite vessel work through assumptions.
- Verify cookware and appliance suitability together.
- Match the full regional model to accessory guidance.
- Measure base, rim, handles, and total height.
- Check taper and corners at the intended position.
- Keep food depth and quantity aligned with the recipe.
- Confirm the permitted support and removal method.
Behind this guide
Sources & editorial method
This guide combines original editorial decision support with the linked documentation. It is not a hands-on product test. Check the exact regional model and its manual before purchasing or using an appliance.
- Philips: compatible baking-tin sizes and model groups ↗Checked
- Breville BOV900 official instruction booklet ↗Checked